Metaverse editor
In the Customize your metaverse section, you have the opportunity to shape your metaverse and add various elements such as 3D spaces, buildings, decorations, and floating photos for advertisements. These elements can be arranged in a neat and visually appealing manner. To assist you in this process, the following tools are available:
Editing a model
Each model within your metaverse is editable. Depending on your plan, you are given different levels of flexibility. From editing the screens only to fully customizing your metaverse.
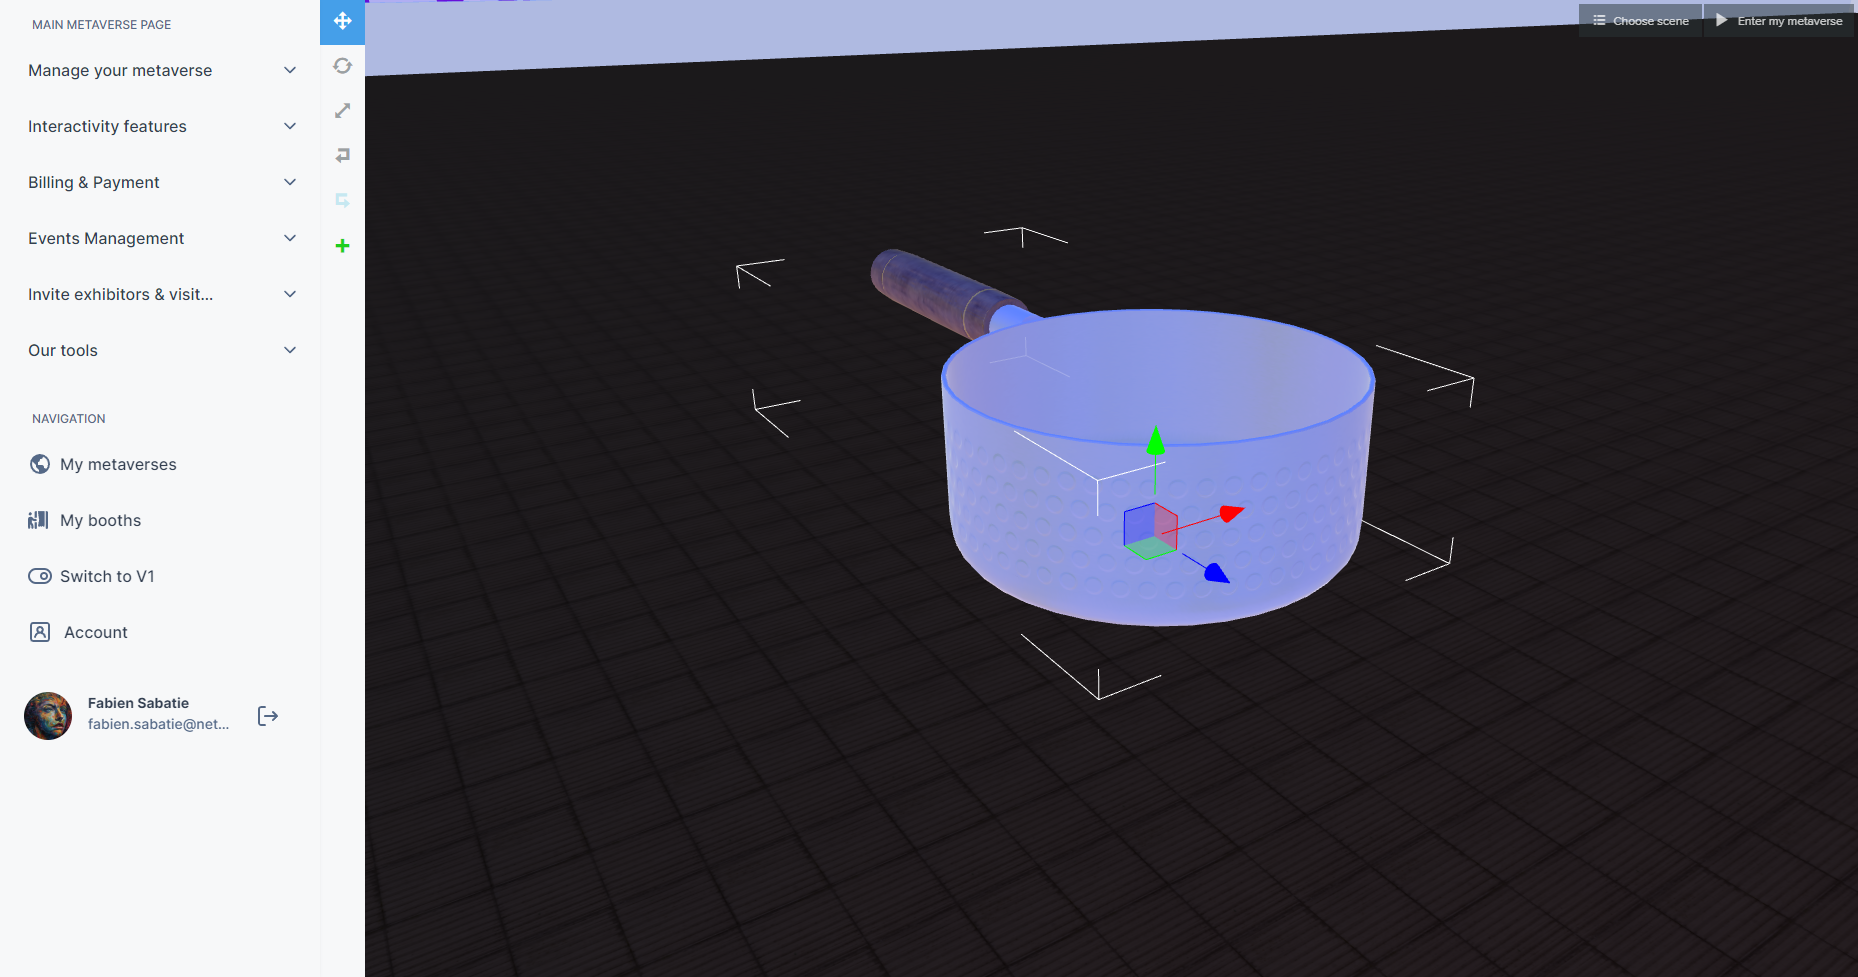
Translate
This option allows you to move and position the added elements with XYZ coordinates. You can use the blue and red arrows to move stands and decorative elements horizontally (right to left, front to back), while the green arrow allows you to lift and suspend objects in the air. For example, in the image below, the banana tree is positioned using the red and blue arrows and suspended using the green arrow.
Rotate
This option enables you to rotate the models to achieve the desired orientation.
Scale
You can use this option to adjust the size and shape of the added elements by stretching or elongating them.
Adding a model
This option allows you to add new elements to your metaverse. You can choose from a wide range of models, including buildings, spaces administered by partners, and decorative elements. You can also add floating photos for advertisements and add your custom models.
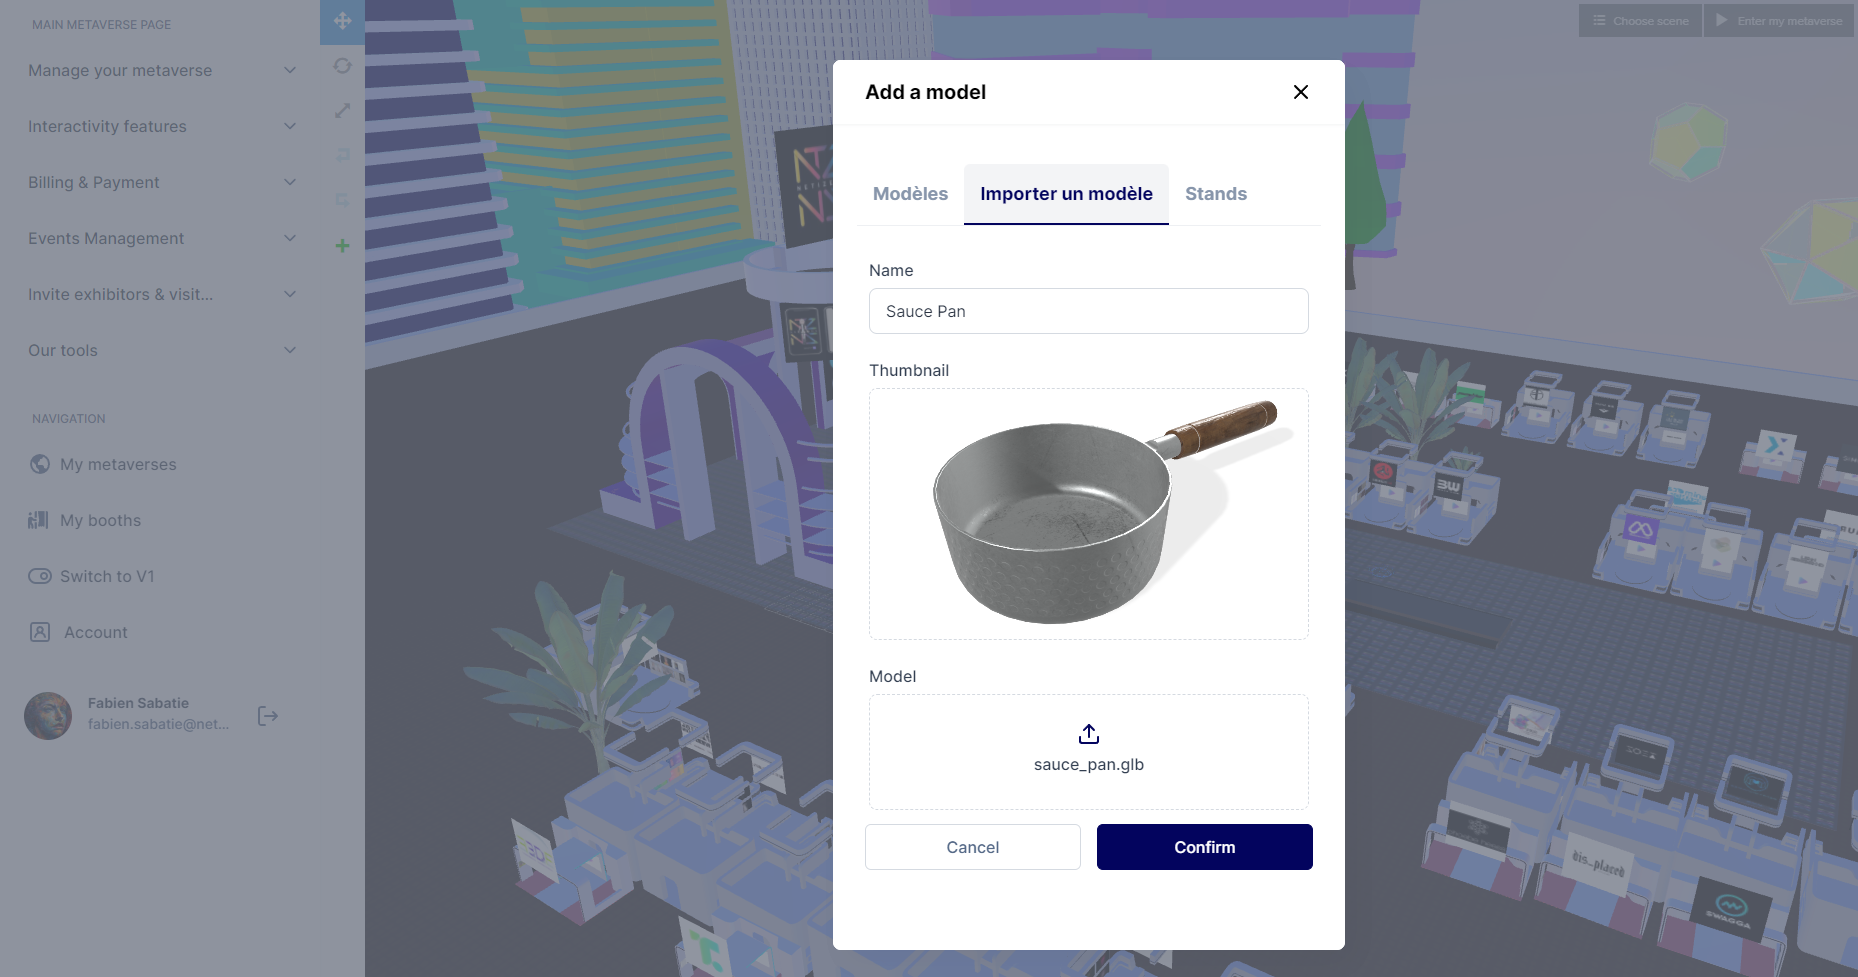
To get started, click on the + button located in the toolbar on the left side of the builder. In the new window, you can choose from the following options: Models, Import a model, Stands, select Import a model
- Name: Specify the name of your model.
- Thumbnail: Upload a thumbnail image for your model.
- Model: Provide the model as a GLB or FBX file.
Uploading process
Once you click confirm, you can track your upload. It will let you know when the model is ready, and insert it into your scene for you.
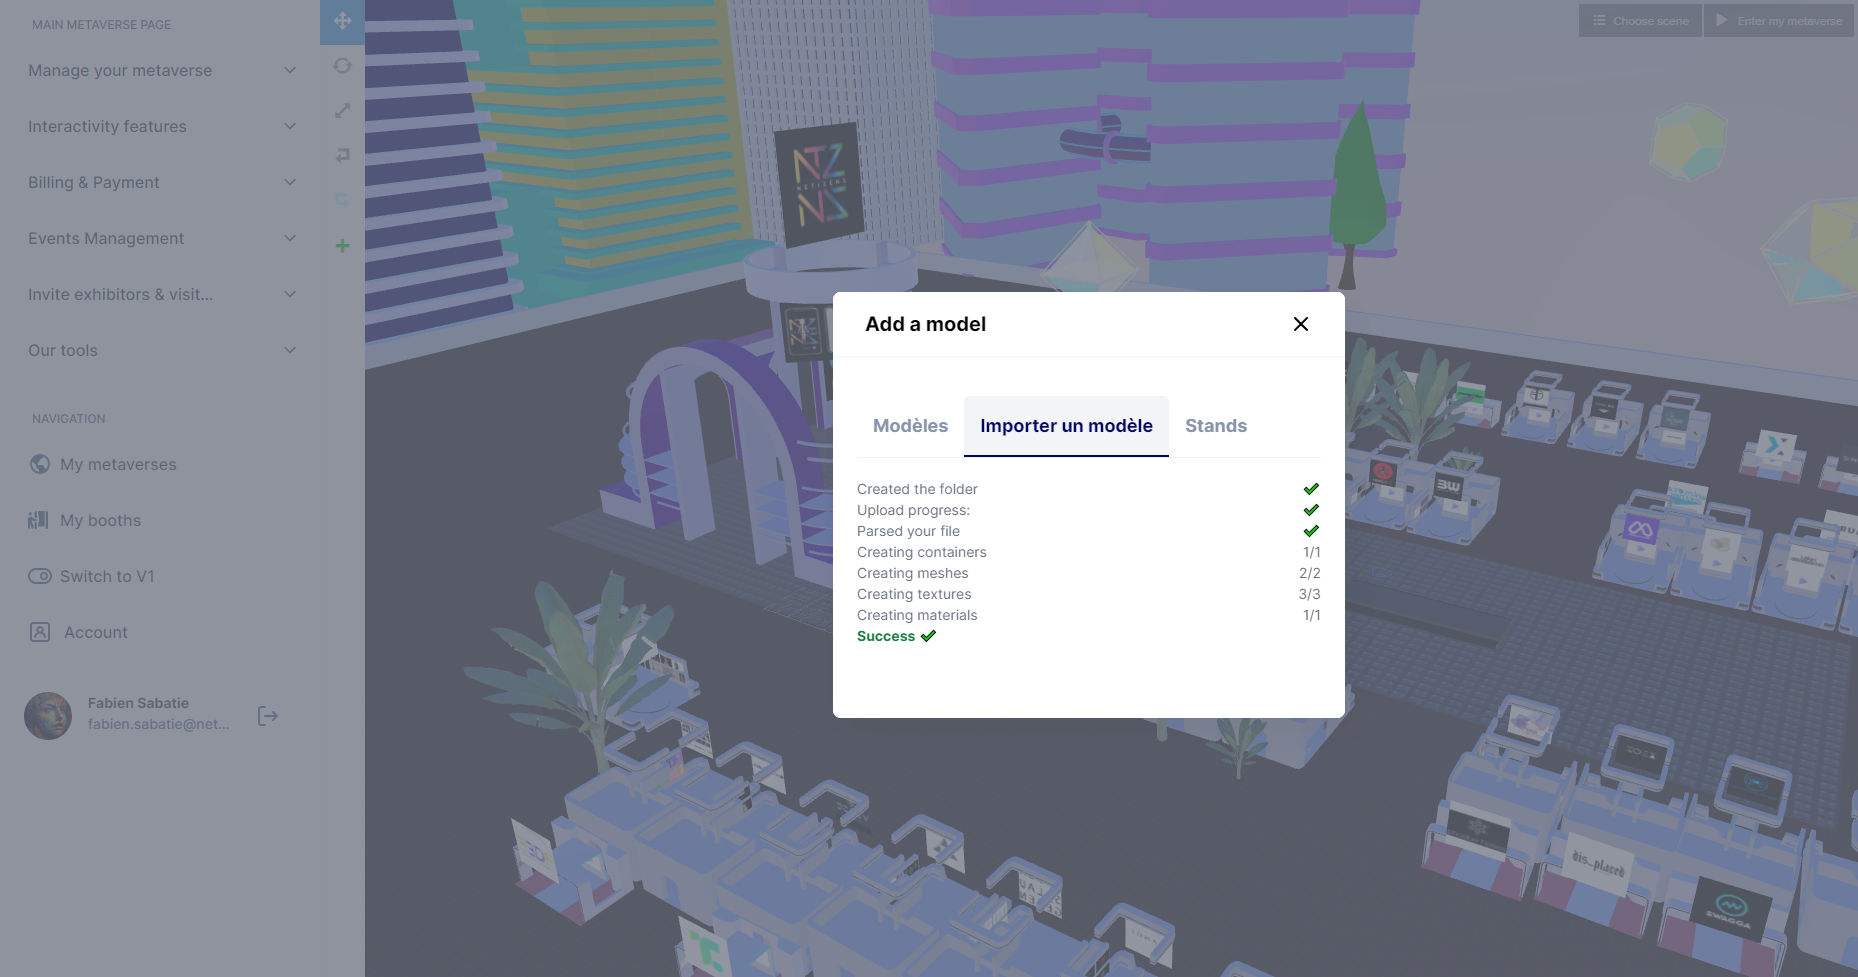
Note: the model is inserted in the middle of the scene, coordinates (0, 0, 0)
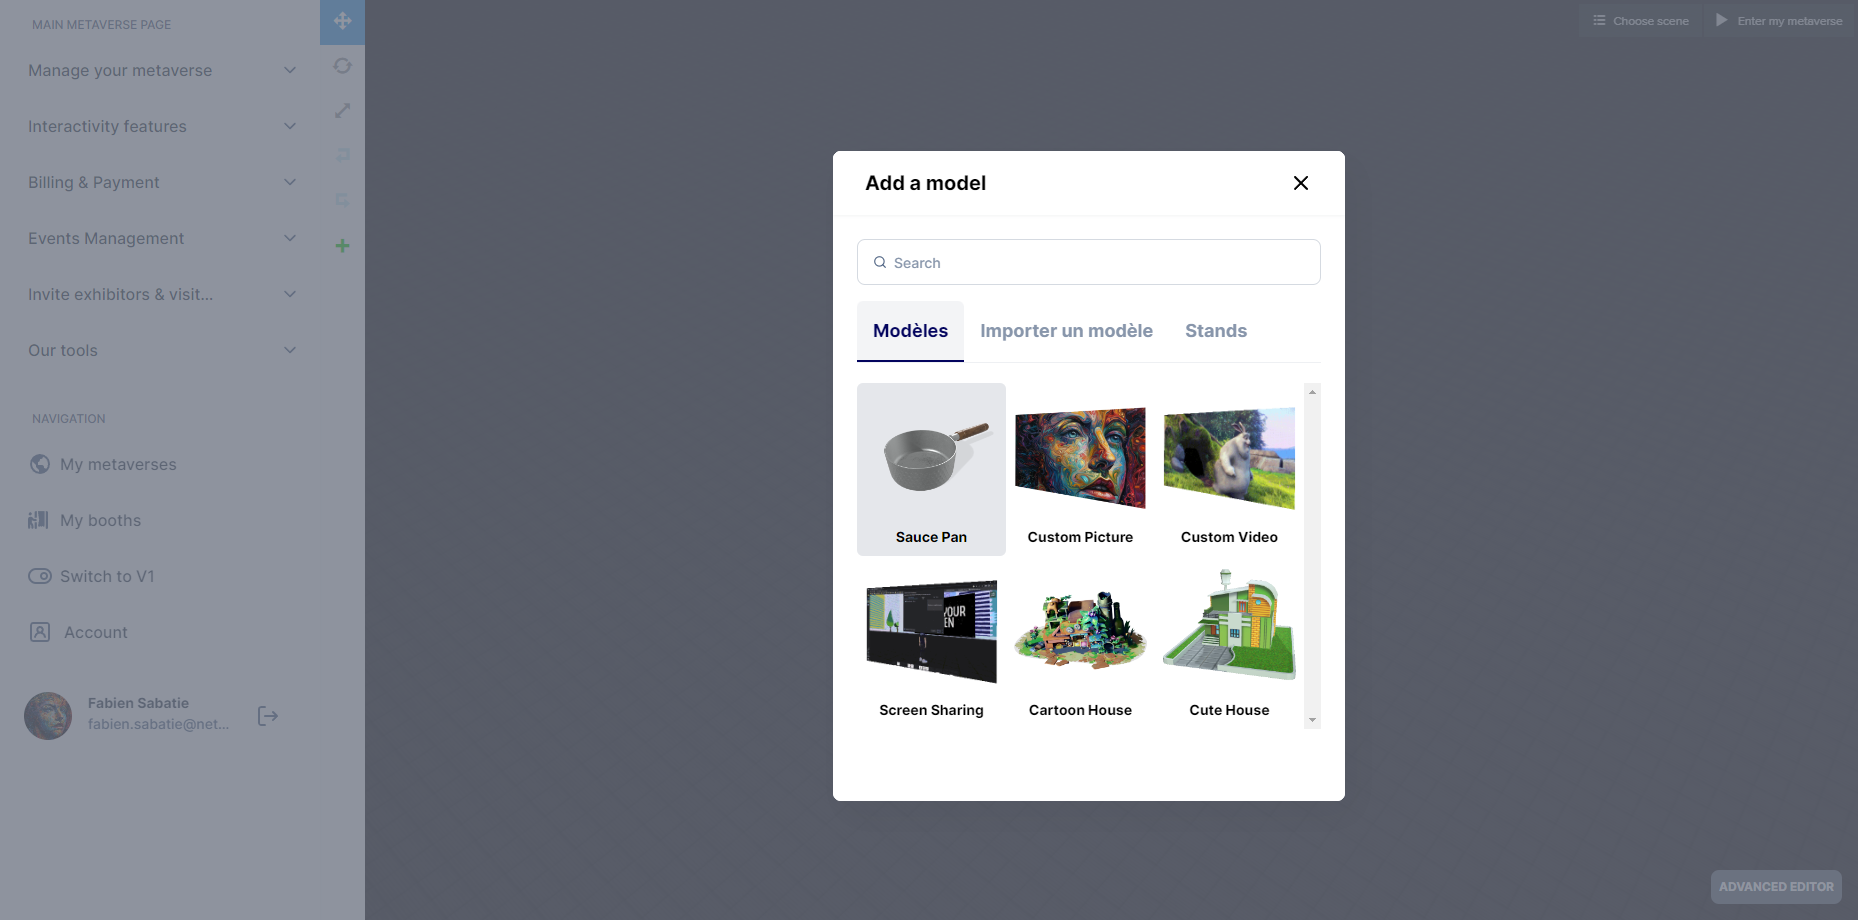
Re-using the model
Once you've uploaded your model, you can add it to the scene at any time in the Models section of the Add an element window.
Undo / Redo
- Undo: If you're not satisfied with a previous action, you can use this option to cancel and revert it.
- Redo: This option allows you to restore actions that were previously undone.
Properties editor
This window allows you to edit the properties of the selected model. You can change the material, texture, and coordinates of the model. Each type of model has its own set of properties.
The properties editor shows up on all editable elements. You can drag and move it by clicking on the 📌.

Model features
Examinable
Under Features in the properties editor, you will find the Examinable option. An examinable model can be rotated and zoomed in on. It is a great way to showcase a product or a piece of art. Visitors have the ability to interact with your model by simply clicking on it, enabling them to rotate and view it from various angles. This feature is especially valuable for showcasing products or art pieces, allowing users to explore and examine every aspect of the model for a more comprehensive understanding and appreciation."
- Aim to create an attractive metaverse with elements that are relevant and meaningful to your ecosystem.
- Don't hesitate to seek assistance from the Mext technical team if you encounter challenges in adding or importing certain elements. They can help you integrate those elements successfully.